
If you’ve ever been curious about making hard cider at home, you’re not alone! Many fermentation-curious folks have dabbled in the art of home cider making — there are more resources now than ever, including homebrew shops with knowledgeable staff and online forums, to help you embark on this journey!
Many home cider makers enjoy making a few gallons from time to time, with a little set up in the cellar or out-of-the-way closet. But some get the bug, and grow from hobbyists to professionals. In fact, a number of professional Pennsylvania cider makers started out dabbling in the craft at home!
One of those people is Olga Dressler, who, in 2016, co-founded, along with her husband Brian, Dressler Estate, a cidery in Downingtown, PA. The Dresslers’ first foray into cider making was through a curiosity about cider, and a love of Pennsylvania apples. The couple started dabbling in 2012 as a way to find a fun joint hobby that could combine their various skill sets; Olga’s creativity (she is an artist and photographer) and Brian’s engineering background.
She said they chose cider because it was more efficient to make in their tiny galley kitchen, and because it was easy to access quality fruit and juice because of the many farms and orchards nearby in Southeastern and Central PA. They’d also tried and enjoyed a handful of dry ciders, but were surprised that they couldn’t find more, and thought perhaps they’d just have to make them themselves. Excited and inspired by their initial success in home cider making, within the first year, it quickly became a huge part of their lives.
“Our setup grew from a couple gallon jugs on our kitchen counter to completely taking over the dining room in our apartment!” Olga remembers. “We had several carboys going at a time, and we acquired a kegerator, and had cider on draft in our apartment.”
As the couple began to consider their future and their careers, becoming professional cider makers started to seem like a very real possibility. They got linked up with an incubator called Blackstone LaunchPad, and began fleshing out a business plan and pitch deck. They also utilized the many educational resources at Penn State Extension, including business workshops and classes. In 2016, they incorporated, and in 2017, Dressler Estate released its first cider. The rest is history!
When it comes to DIY cider making, Olga has plenty of experience and expertise, which she has generously shared with our community:
Home Cider Making Setup
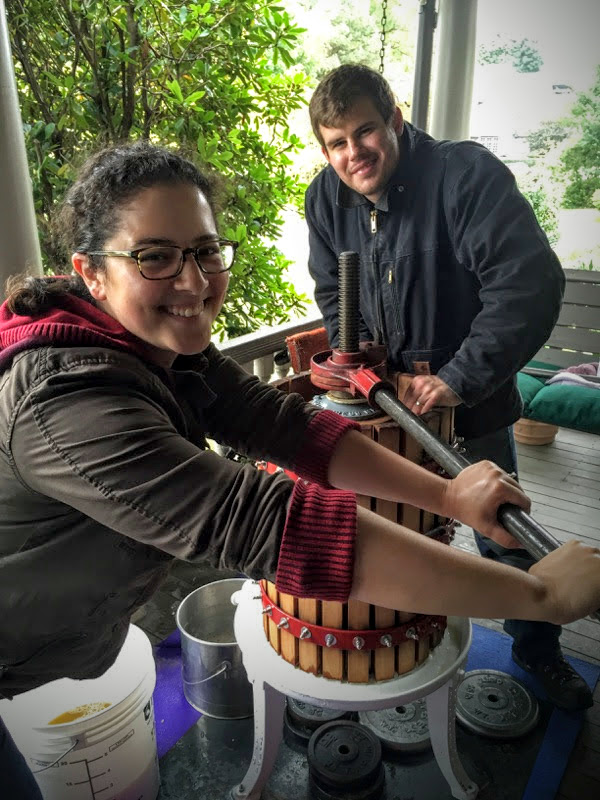
Juice: Olga says that ideally, the juice you start with should be unpasteurized, or very gently pasteurized, without a lot of preservatives in it. Often, you can buy fresh-pressed juice at a farm, orchard or farmer’s market. Some people also invest in a small press to make their own fresh-pressed juice at home.
Here’s a fun fact: Olga and Brian Dressler started their first home cider batch with a gallon of Whole Foods Gravenstein blend apple juice!
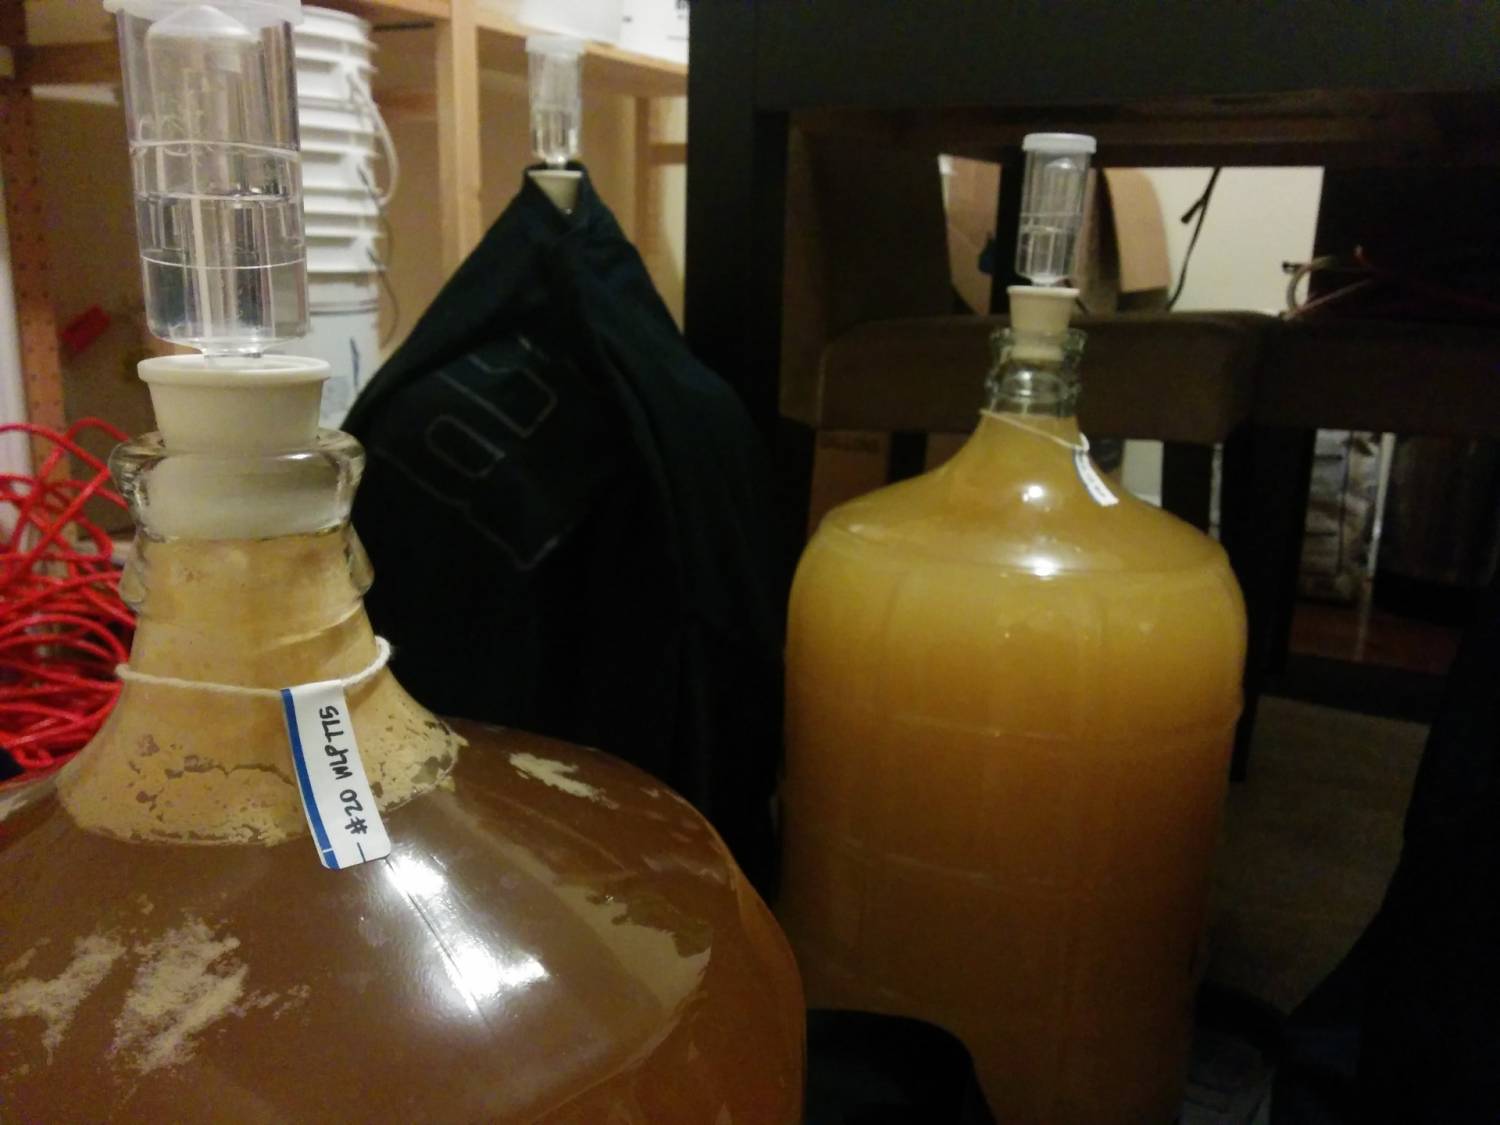
Vessels: Most home cider makers ferment their cider in a primary vessel (like a fermentation bucket). Once that fermentation is complete, with the yeast and pectin settled to the bottom, the cider is racked off into a secondary vessel, like a glass jug or carboy. The narrow neck of this type of vessel prevents too much oxygen from getting in.
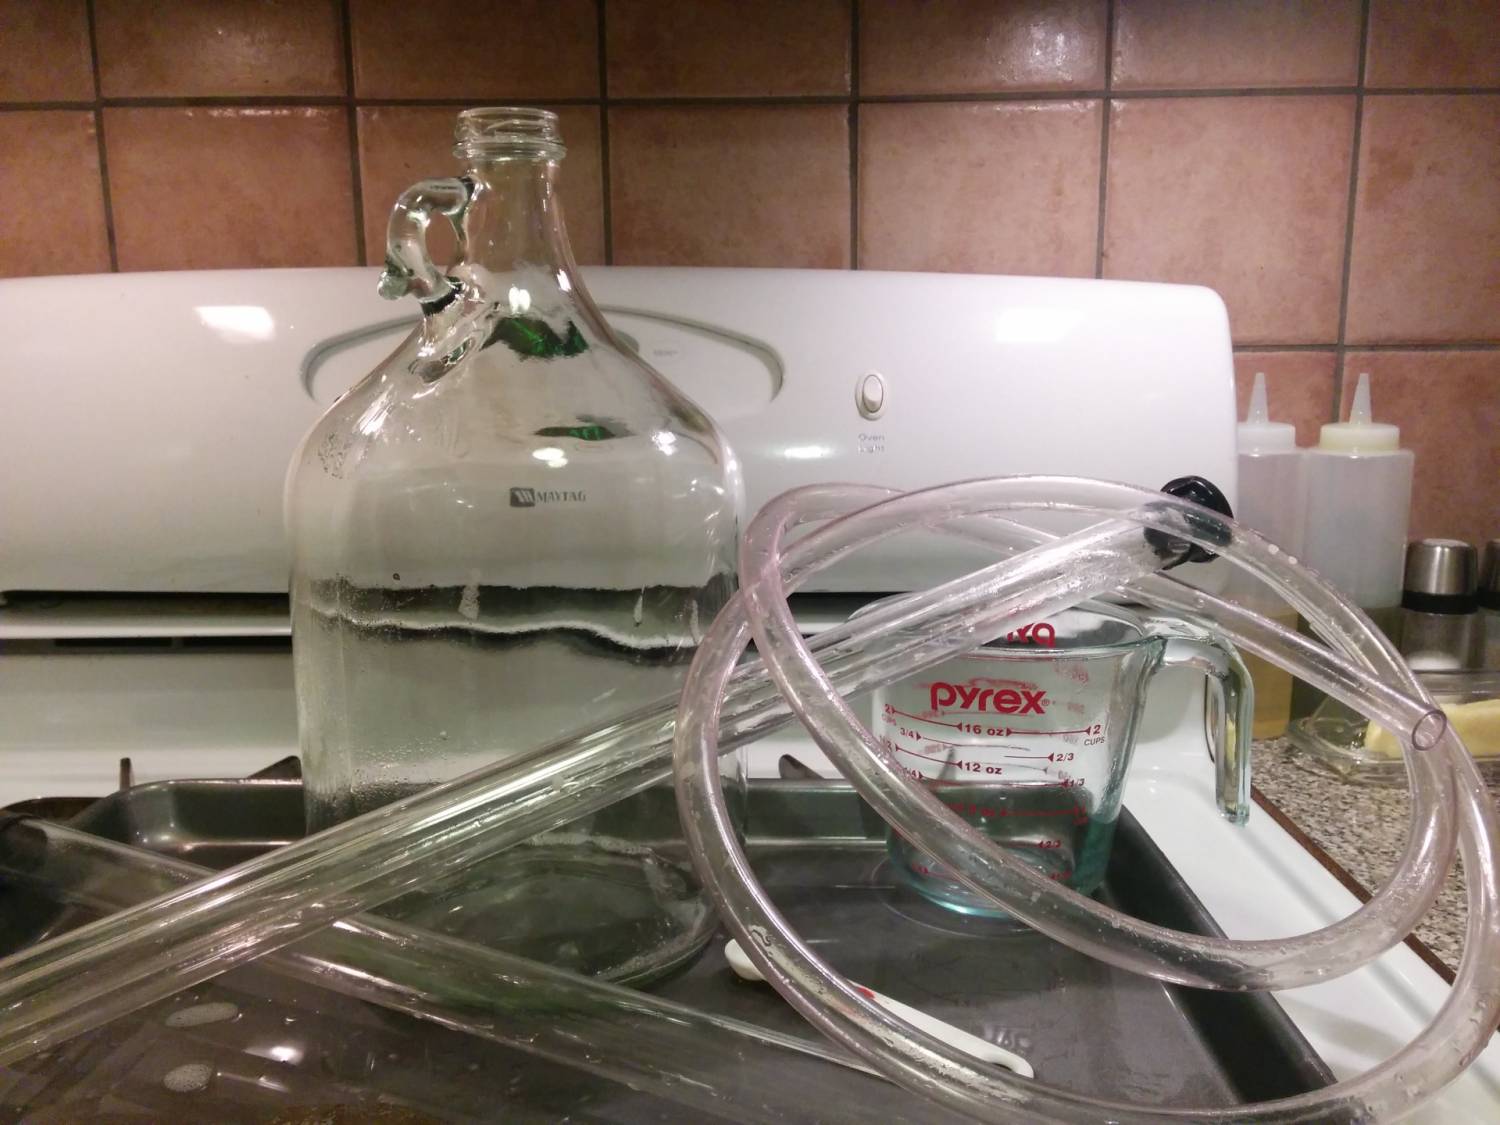
Racking Canes & Siphons: These are the tools that allow you to “rack” (transfer from one vessel to another) the cider using suction and gravity. Racking can be done to move the cider, or as a way to help naturally clarify the liquid, as it leaves behind the sediment in the bottom of the vessel.
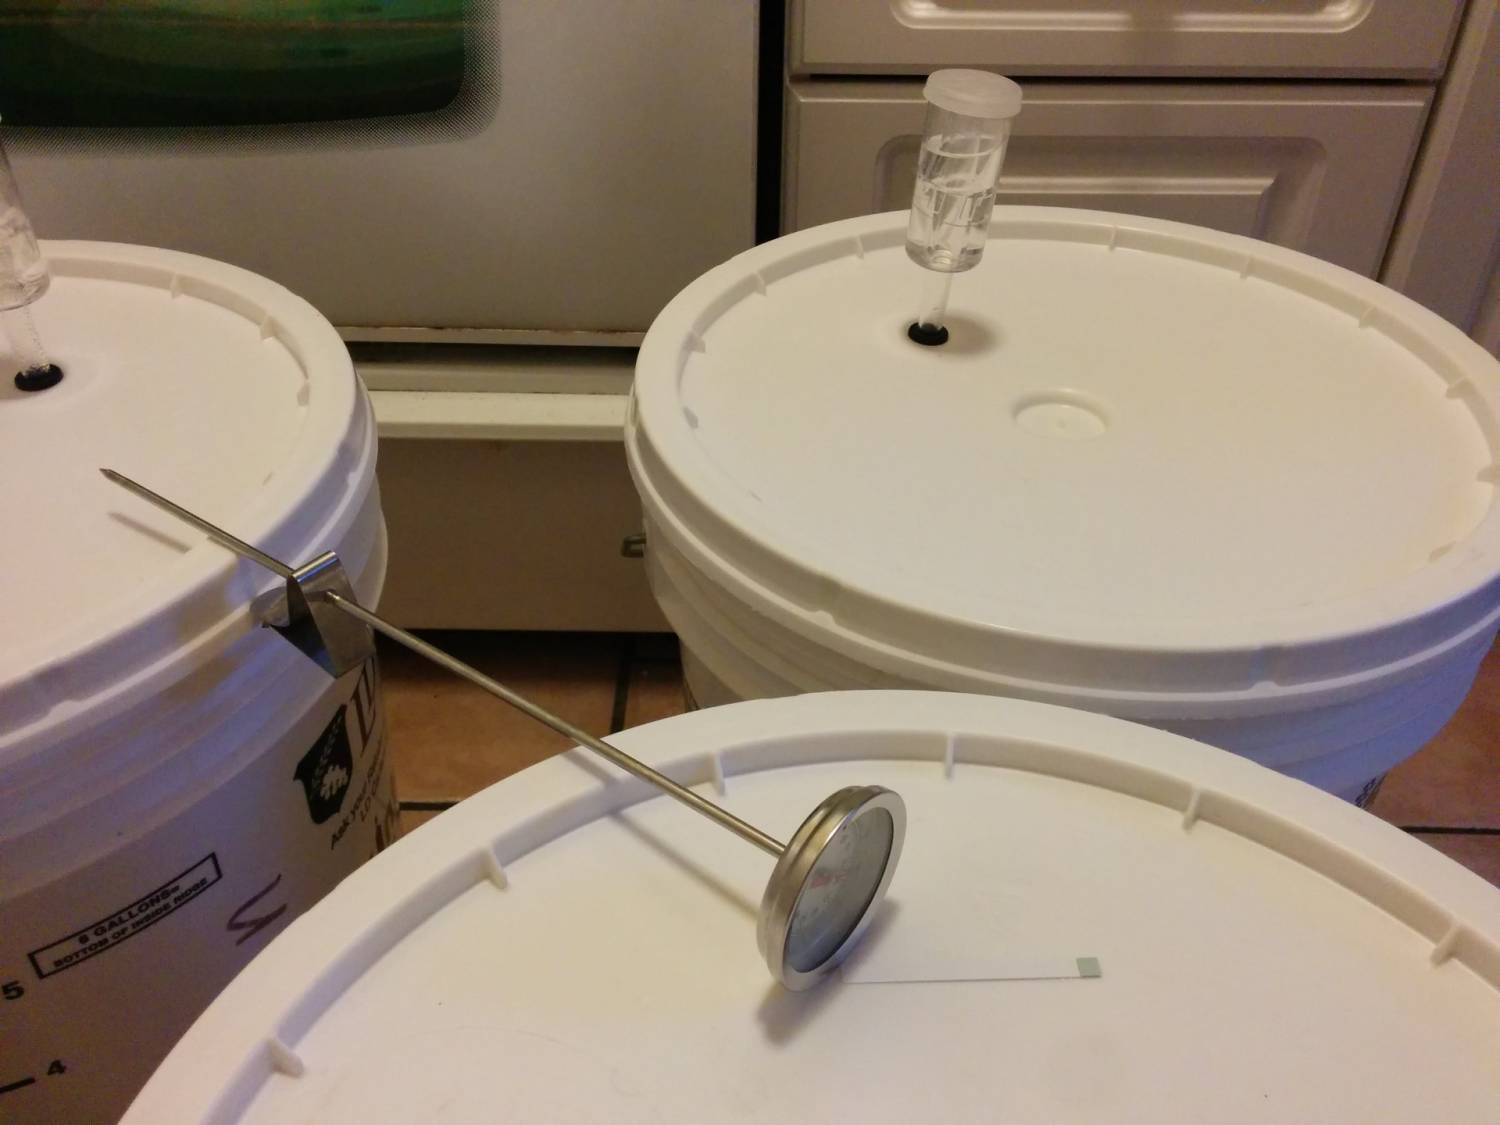
Airlock: You’ll need to top the jug or carboy with an airlock, which is a small device that keeps bacteria out and helps release the CO2 that is created during fermentation.
Yeast: There are hundreds of kinds of packaged commercial yeast that cider makers can use, depending on their desired outcomes. Olga suggests talking to the staff at your local homebrew store about which kinds of yeast to start with.
“One thing to consider is, are you going to go natural fermentation or cultured yeast strain? It’s tougher to get natural fermentation started with pasteurized juice, but with fresh pressed apples you can go a non-commercial yeast route.” – Olga Dressler
Sulfites: If you’re using commercial yeast, you will want to use sulfites (sulphur dioxide) to clear the juice to give the cultured yeast the best chance of starting a healthy fermentation. Sulfites can be purchased at a homebrew store, usually in tablets or a powder.
Yeast Nutrient: Sometimes, yeasts need a little help to finish fermentation. Yeast nutrients are a product that can give yeasts a boost and help prevent off flavors that can develop in cider if the yeasts run out of fermentable sugars. It’s often sold in homebrew stores in jars or in small cakes.
Sanitizer: As with any project involving fermentation, cleanliness is crucial. Homebrew stores sell sanitizing liquid and tablets that help keep surfaces, tools and vessels free of bacteria that could interfere with your finished product.
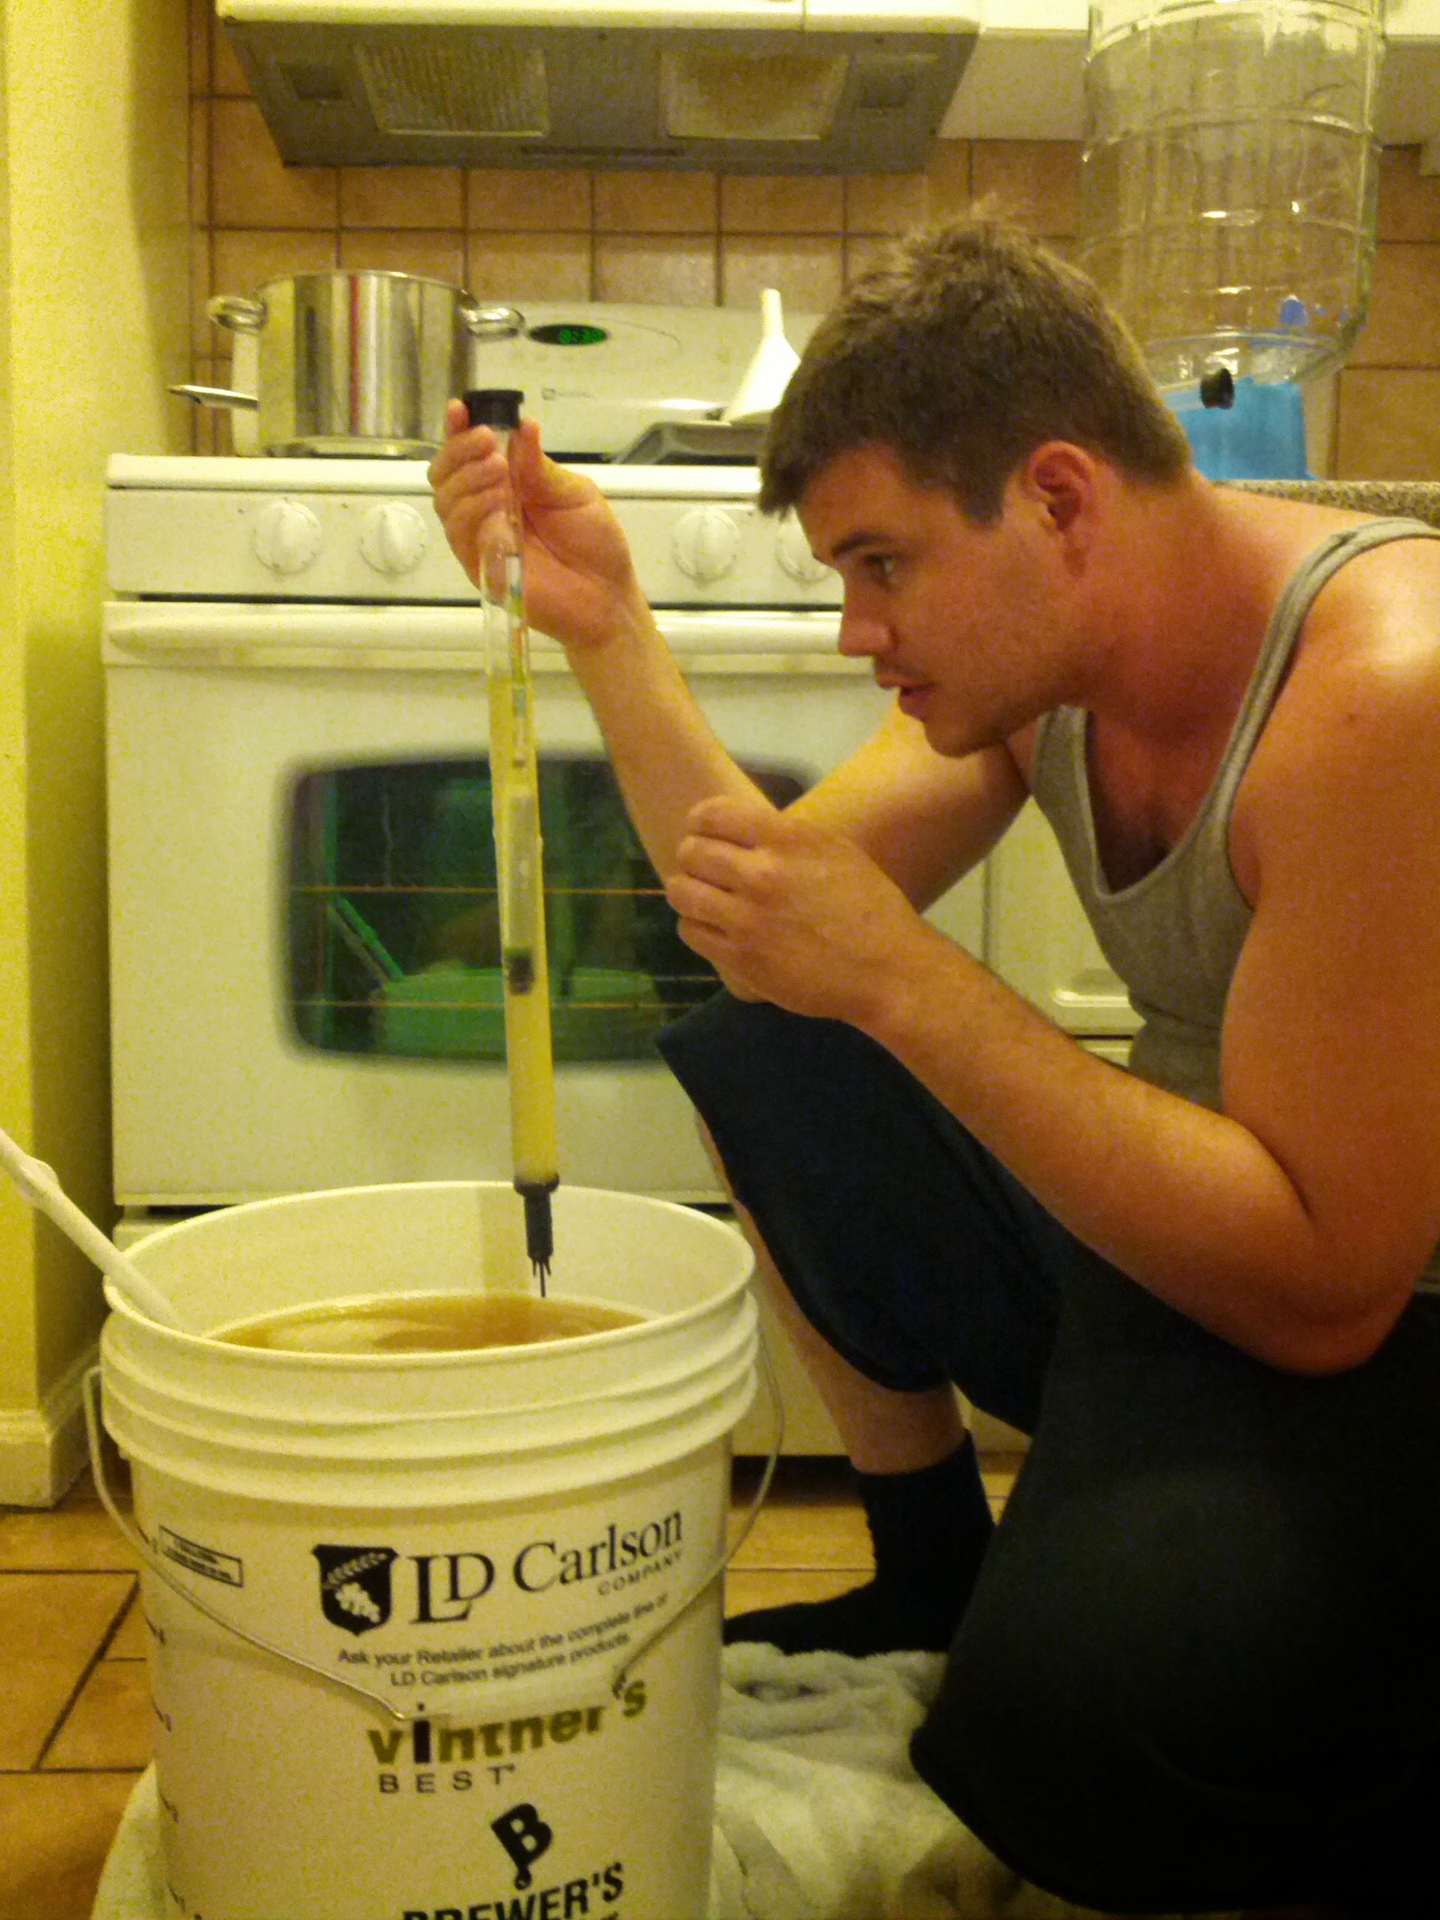
Hydrometer: This device allows you to test the sugar content (also known as “specific gravity”) of the cider both before and after fermentation. These readings can help you figure out what the ABV of your finished cider will be.
pH Testing: Testing your cider’s pH levels is important to know how acidic it is and can help you determine the stability of your finished cider. This can be done with pH testing strips (inexpensive and but less accurate) or digital pH meters (more costly, but also more accurate).
The Process
“At its most basic level, fermentation is very simple,” Olga notes. “You have a sugary substance, like juice, and yeast eats the sugar and converts that into alcohol and CO2. From there you have a million options, and that’s where it becomes about exploration and experimentation.”
Olga says that their process was always to pitch the yeast into the juice, take an initial sugar reading and then use yeast nutrient to provide food for some yeast.
How long primary fermentation lasts depends largely on temperature. A warm fermentation can take a week or two, and will produce a highly aromatic, though possibly less complex, cider. Low, slow fermentation is another strategy, which may yield a more nuanced cider.
“Temperature control doesn’t have to be fancy; it could just mean fermenting in a cool basement or a sunny room,” she says.
Many home cider makers also clarify their ciders.
“Clarification depends on the fruit and whether you used an enzyme to break down the pectin,” says Olga. “Clarification can take two weeks to a month to let the particles settle. Sometimes we’d let ciders sit for a couple months.”
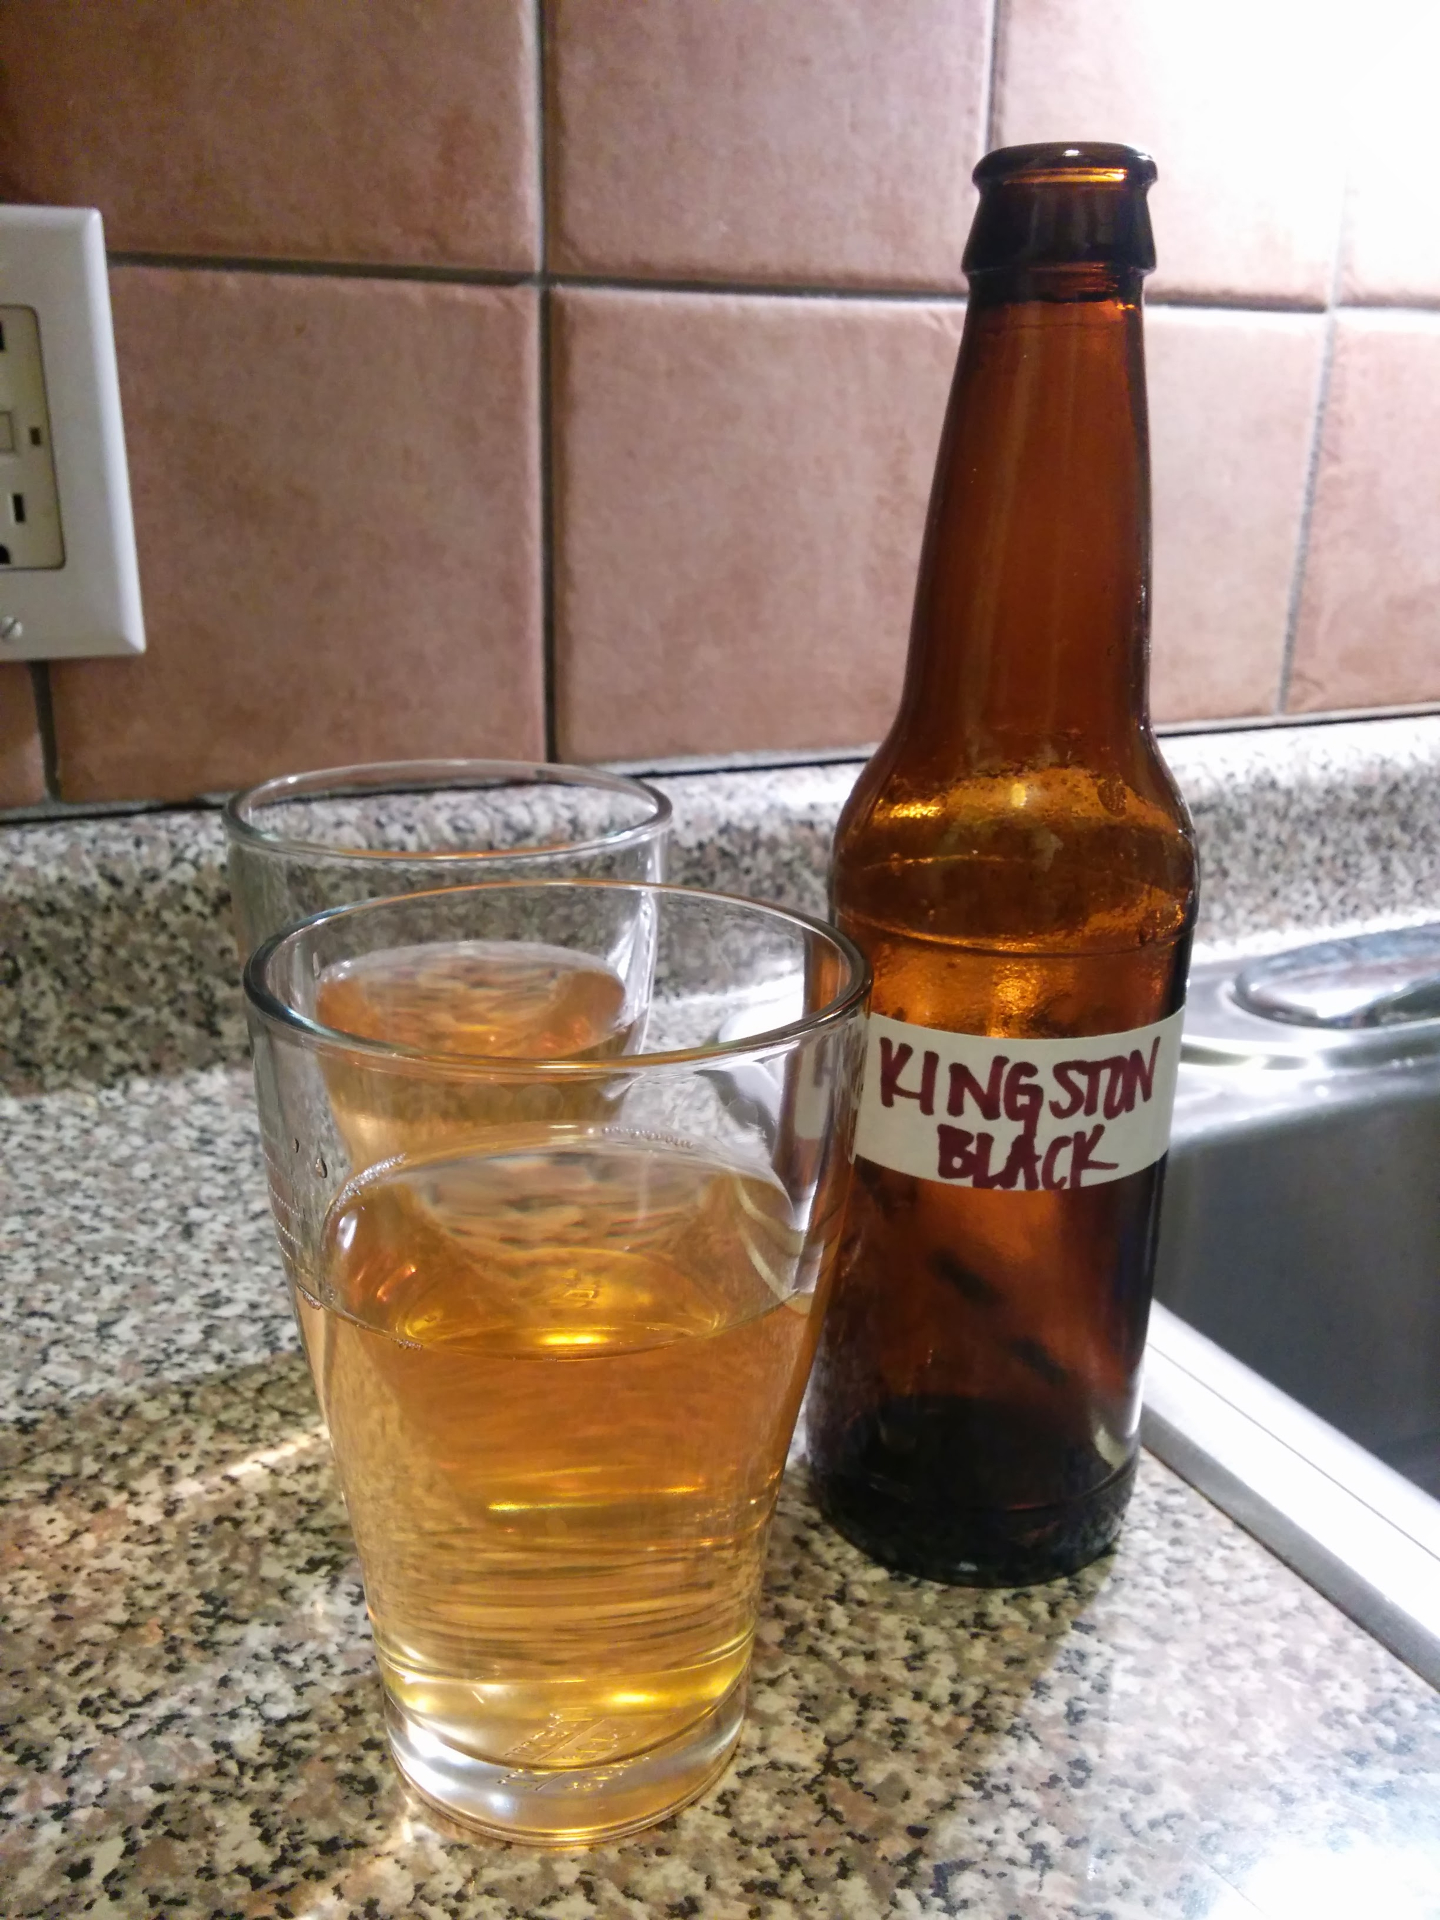
However, she is quick to note, setting and racking doesn’t remove all the viable cells, and most homemade ciders will not have the hyper-filtered clear appearance and texture as commercial ciders do.
To achieve a specific result, cider makers can “backsweeten” or add sugar to the finished cider for flavor. Because added sugar can restart a fermentation in the bottle (bottle conditioning), there are preservatives that can be added which inhibit a secondary fermentation.
“Or, you can use a non-fermentable sugar, like lactose or xylitol,” she adds.
Home cider makers also need to consider if they want their cider to be still or sparkling. For sparkling ciders, they can use bottle conditioning to add bubbles. Bottle conditioning means blending additional sugar into a bulk amount of finished cider and packaging it. Homebrew stores sell sugar tablets that can be added to each bottle. This secondary fermentation will create captured CO2 in the bottles, producing a fizz.
“Some homebrew stores offer forced carbonation as well, though there are costs associated with that,” she says. “You can also get used Corny kegs [stainless steel canisters], little quick carb machines and bottling guns that let you fill one bottle at a time off the Corny keg.”
Fermenting at home is fun, though it does take a lot of trial and error. If you want to learn more, we strongly suggest finding a homebrew store in your community and leaning on the staff there to help guide the way. Occasionally, local cideries, like Hale & True Cider Co., or homebrew stores will offer home cider making classes and workshops, so be sure to keep an eye out for resources like those as well!
Photos courtesy of Olga Dressler.